Building the Serenity stunt - November 2010

Burchfield Park, Holt, Michigan, USA

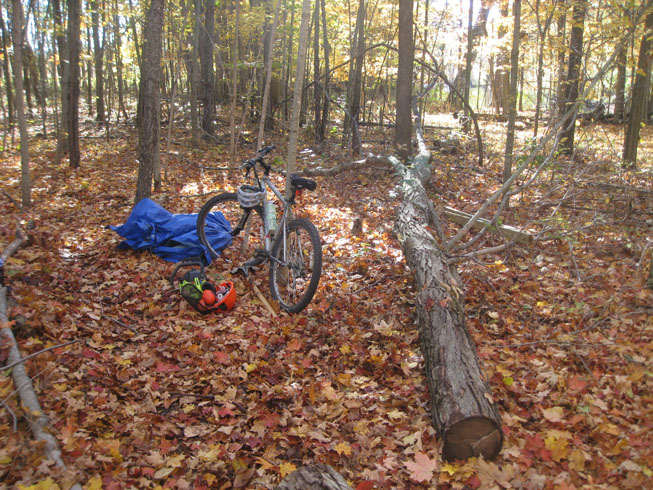
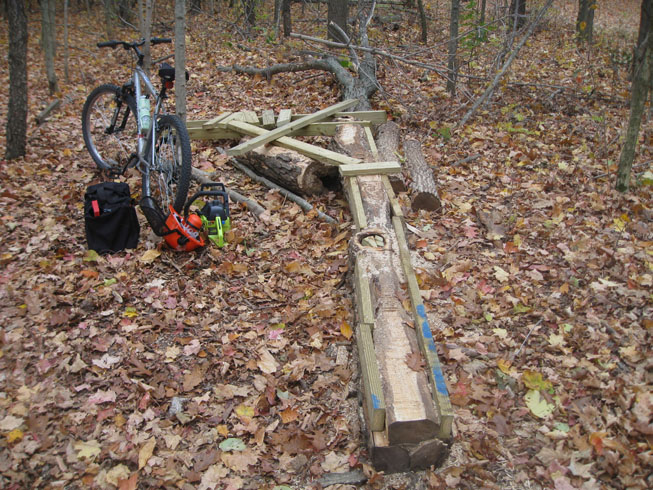
The base log for this stunt, at the end of the trail named Serenity (built summer 2010). It starts 20 yards North of the new bridge over Peppermint Creek, which is between the McNamara and Riverbend parking lots.

Old bridge, facing South.

Old bridge facing South

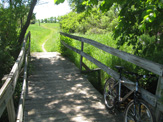
Old bridge, facing North. Take the second left, a few yards past the rider.

Old bridge facing North


Before
Levelling the entry ramp. Notches cut into the tree to insert the 8-foot long 2x4's.

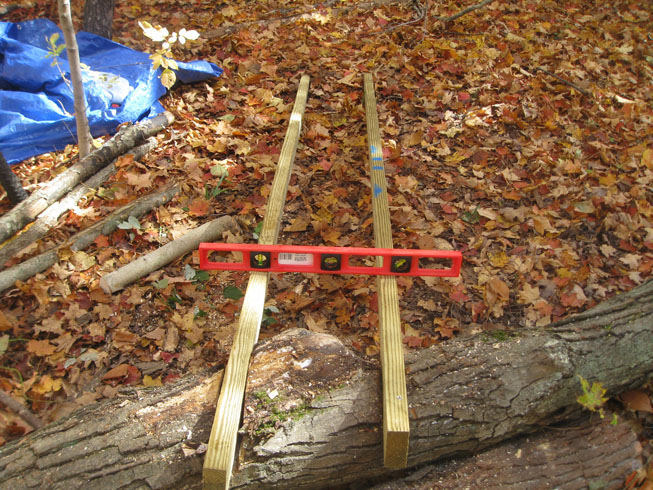
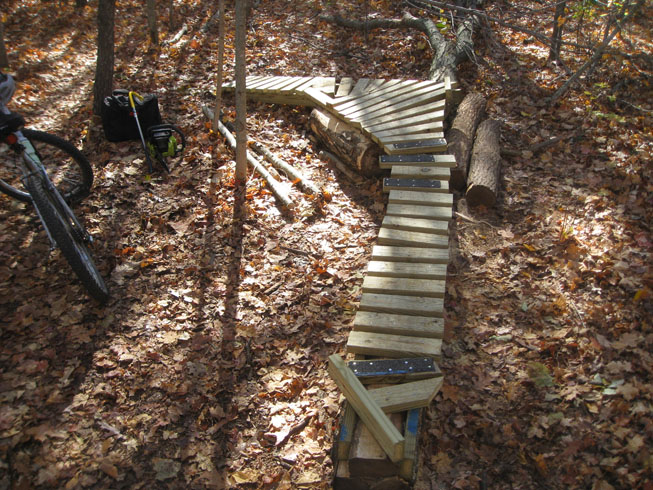
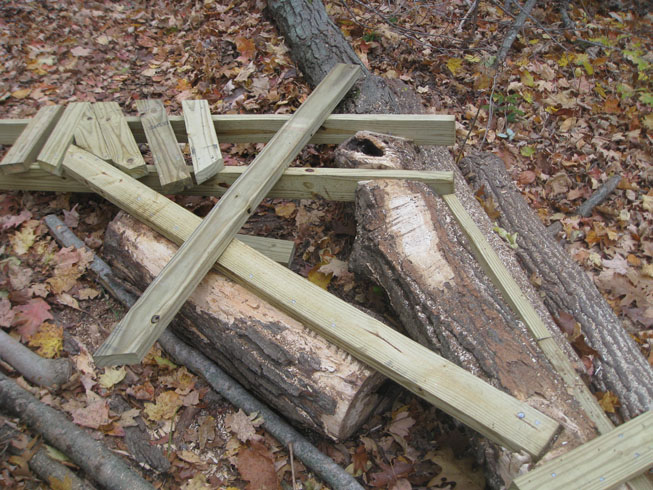
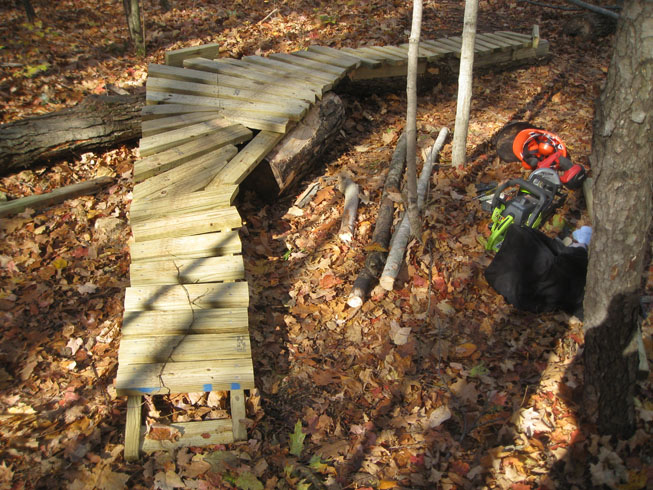
The crossboard - the main board for the turn. I used a chainsaw to carve a notch into the tree so that the deck boards could be placed on top of the sunken crossboard.

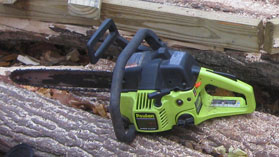
This is my chainsaw, a Poulan 14". It's actually a good size for this sort of work, but being from a family of loggers, it's pretty tiny. At least it's not electric!

Chainsaw

Crossboard laid in the notch, fit was good, nothing nailed at this point. Later, a 6-inch spike was driven through this key board. The log pieces on the right are to help out any riders that come through too fast and go over the edge.
The boards were loose at this point as I wasn't sure how to do it and I wanted to be able to change things if I needed to. This was my first stunt and I made it up as I went along.

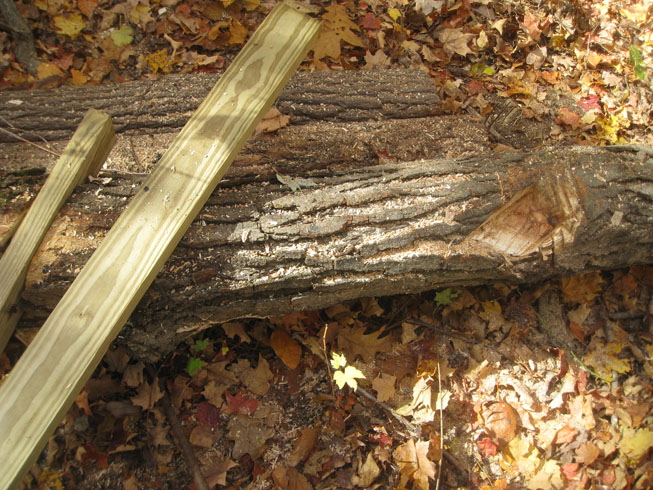
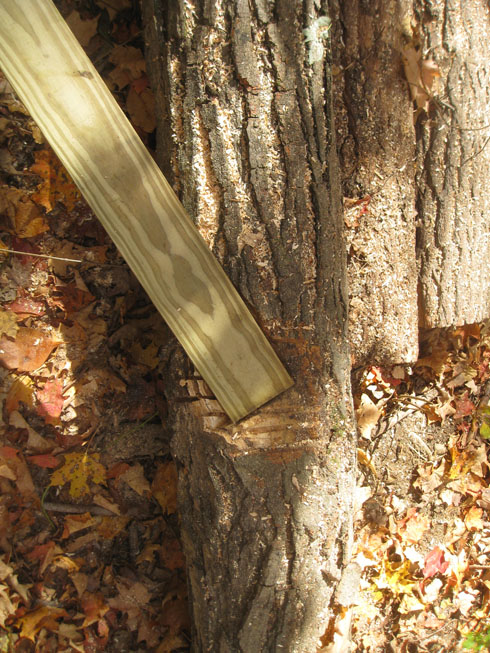
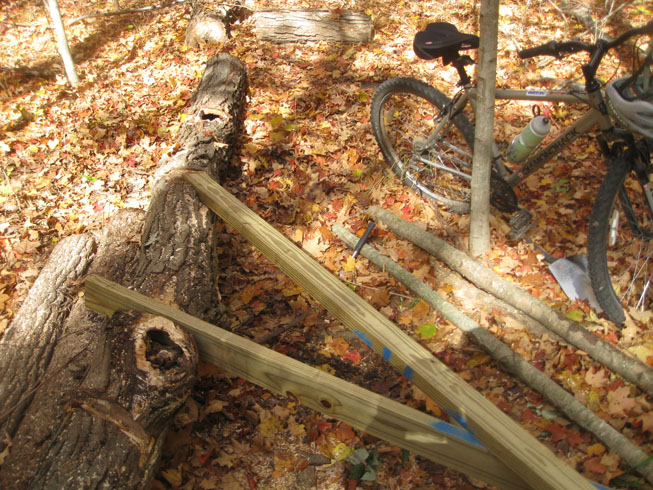
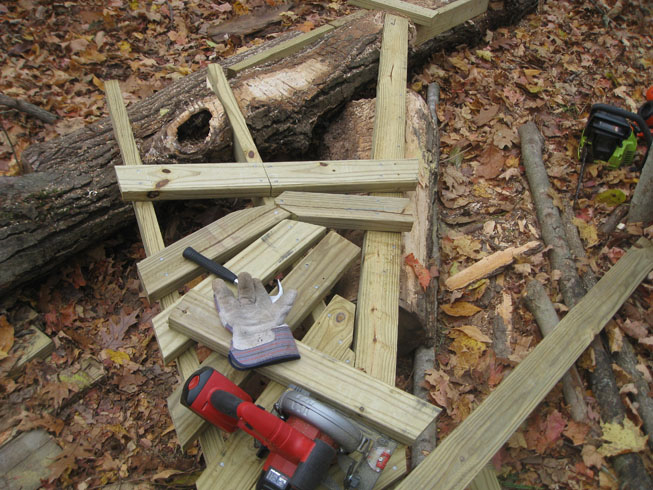
Side notching, carved with the chainsaw. This took a while because I wanted the deck to be level and the tree was not straight. I had to keep making little adjustments. With side boards in the notches, the deck boards would have a very strong foundation.

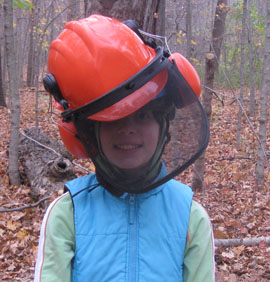
Here's my daughter Christina modeling the safety equipment:

Christina with hard hat

One side of the log is completely notched now, ready to receive the 2x4's. I had fitted them in place without nailing as I went along. Since the log wasn't straight I had to cut the 2x4's up into smaller pieces to follow the shape of the log.
All the side boards are nailed into their notches at this point. You can see spots where I've used the chainsaw to flatten the round top of the log to be level with the two side boards. I was surprised to find out that you can actually move the chainsaw from side to side, shaving it down, as long as you don't stop in one spot. If you do, it digs a groove into the log.
Putting the deck boards on. You can see the six-inch spike driven through the crossboard into the main log. I put the piece of the log I cut out for the bypass under the crossboard for support - I could tell it would break if I jumped up and down on it, and I wanted it to be strong. I nailed the crossboard into this short piece of log to keep it from rolling out of position.
This was the tricky part, positioning the boards along the turn. There was one problem spot in particular that required a few custom shapes. You can see a rotten branch hole in the log - not the best log around, but the only one I had to work with on this trail. The last deck board was one of three that had to be cut above the support board because the three supports weren't quite on the same plane.
Making good progress now, the trickiest part was over. Now it's just measuring, cutting, and nailing, along with more shaving the log down so that the deck boards could be level.

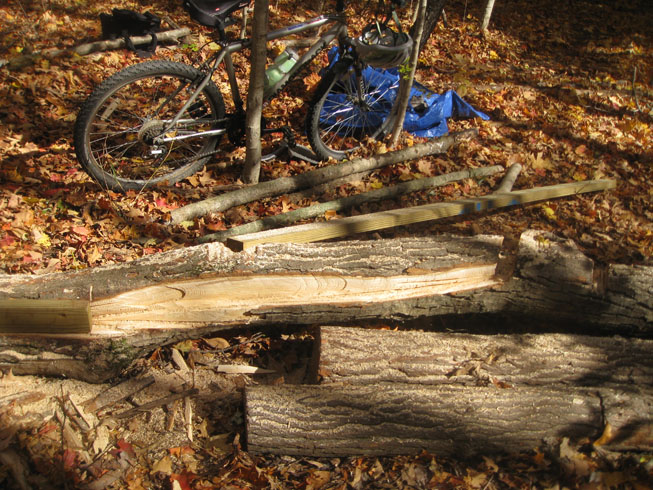
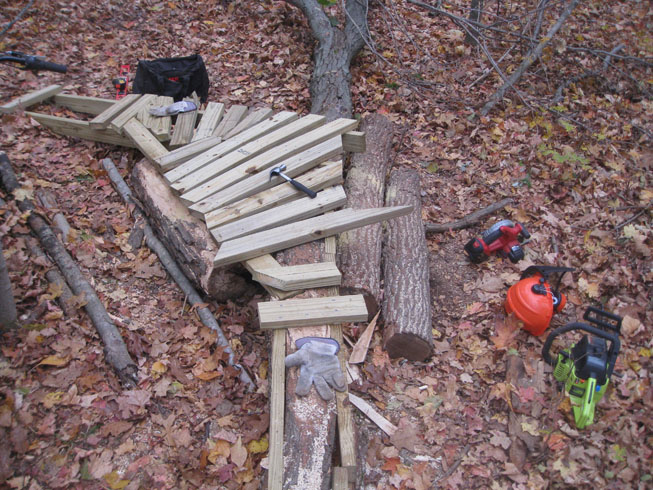
Entry ramp (right). You have to keep your front tire along the left edge all the way so that your rear tire doesn't fall off on the inside of the turn. My rear tire went off the edge on the 7th test ride (video), so I ended up replacing two of the boards just past the crossboard with longer ones, the bottom two shingled in the picture below:

New boards

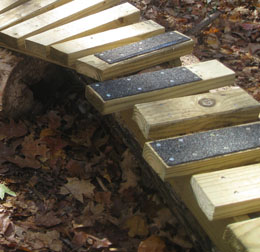
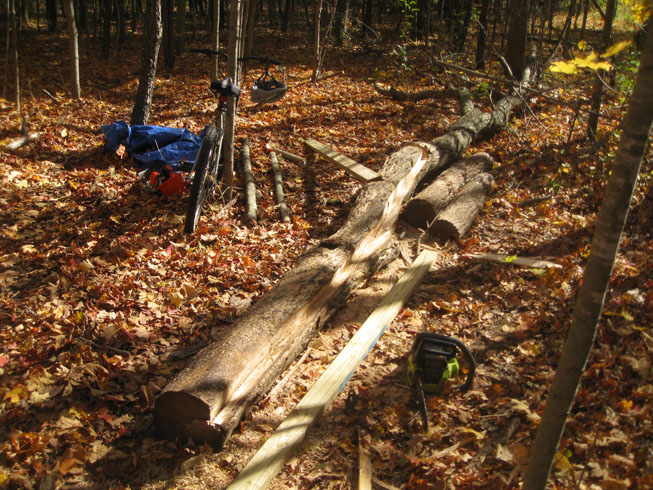
The final product, with roof shingles for grip in key spots and a couple of directional boards on top of the deck.

The two nearest boards of the three shingled in the middle were the longer ones I put in place. I left the short one between them to get riders to keep left. The final drop is an 11-inch drop, hopefully not a problem for anybody willing to ride a stunt like this in the first place. So that's it - about 15 hours work in total, but this was my first one. The next one will go more quickly. I learned a lot (and had a lot of fun!).

See the video of the very first test ride of this stunt, before replacing the boards. You can see how close my rear tire came to going off the edge, and why it was a good idea to replace those boards.